.png)
Winter can feel long and depressing here in Canada (relentless might be the word we’re looking for…), and what takes the brunt of it? That beautiful wood fence which used to bring so much appeal to your property, and is now starting to look a little worse for wear.
Spring is the natural season for an outdoor reset. The ground is thawing and the garden is coming out of hibernation—it’s the perfect time to address the damage that comes with the grime and deterioration of our ever-changing seasons.
We live and breathe outdoor living here at Shepherd’s Hardware. Whether you need the right lumber for a quick fix, a specific shade of stain, or expert advice on lawn and garden care, we’re here to help you transition from the gray of winter to the vibrance of spring.
Here’s everything you need to know to refresh your fence this spring.
Before you go buying everything under the sun and letting your imagination run wild, it’s good to take a more global look at what you’re dealing with; winter often leaves a “hangover” of discolouration, mildew, and tired out hardware…
Walk the length of your fence (both sides!) and look for these common signs of wear:
You want to make sure to inspect all the structural elements of your fence (posts and rails, in particular) just as closely as the face of the fence itself. No level of finishing is going to save a fence if the posts are rotting in the ground! Catching any small cracks or loose screws at this point in the game is going to be significantly cheaper and easier than trying to fix them after a new coat of stain.
Be honest…when you look at your fence, what does it need? A face lift? Or a funeral? Sometimes it’s not so clear, but the following are usually pretty good giveaways.
If you’re unsure about the state of your wood, snap a few photos and head into Shepherd’s Hardware. Our staff can help you determine if a good cleaning will do the trick or if it's time to swap out a few of the structural components.
You wouldn't wax a car before washing it, would you? Well, the same logic applies to your fence. Cleaning is the first and most foundational step of any successful refresh.
To start, sweep away any cobwebs, dried leaves, and loose debris. Then, give it an actual wash. Use your garden hose, preferably with a high-pressure nozzle and/or a specialized fence cleaner. Any stubborn mildew or algae should be treated with products specifically formulated for wood, otherwise you risk damaging the fibers in your boards.
Pro Tip: Always test your cleaner on a small, inconspicuous area first! Follow the product instructions closely and avoid the temptation to use a high-powered pressure washer too close to the wood, as this can damage the surface and leave permanent marks…creating even more problems for you to fix.
Do not skip this step! Applying stain or sealer over dirt effectively traps the grime underneath, leading to poor adhesion and a finish that will peel or flake within a season.
This is the part that requires the most patience. You have to understand…wood is like a sponge; it needs time to release the moisture from the cleaning process. If you apply a finish to damp wood, the moisture trapped inside will prevent the stain from soaking in properly, often leading to a blotchy appearance or a very short-term finish.
While drying times vary based on humidity and sun exposure, a good rule of thumb is to wait for at least 24 to 48 hours of dry weather before moving on to the next step.
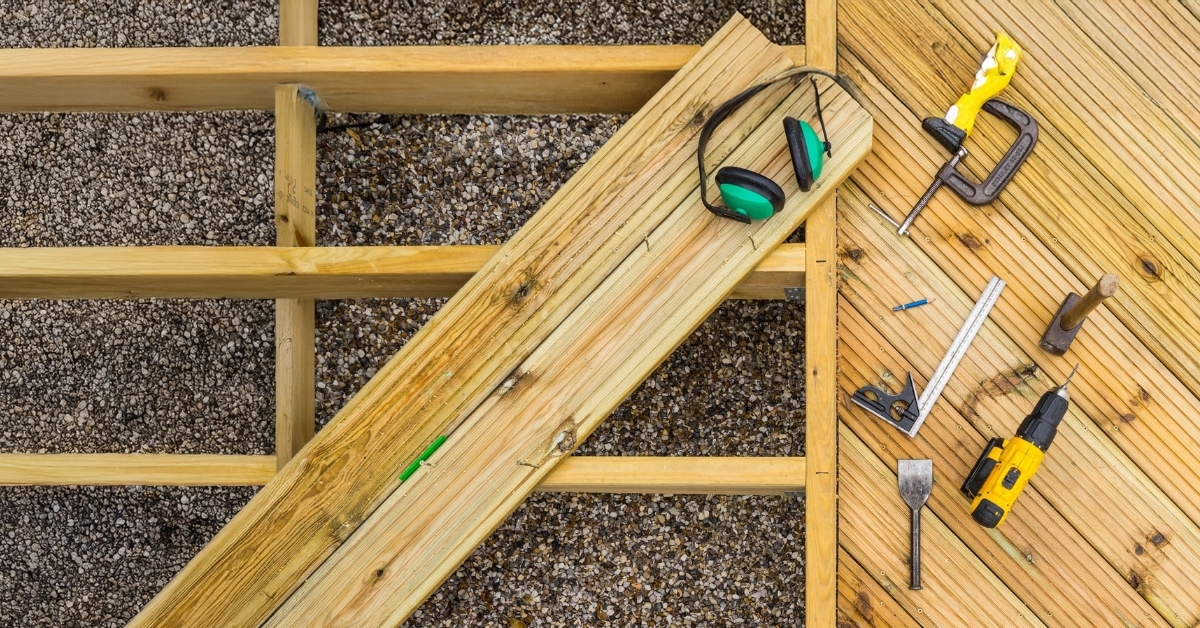
At this point, you have a fence that’s clean and showing you the best version of itself—the perfect time to make some minor repairs before applying the final finish!
Shepherd’s Hardware carries the lumber and specialized outdoor fasteners you need to make these quick fixes so your fence is structurally sound before the beauty treatment begins!
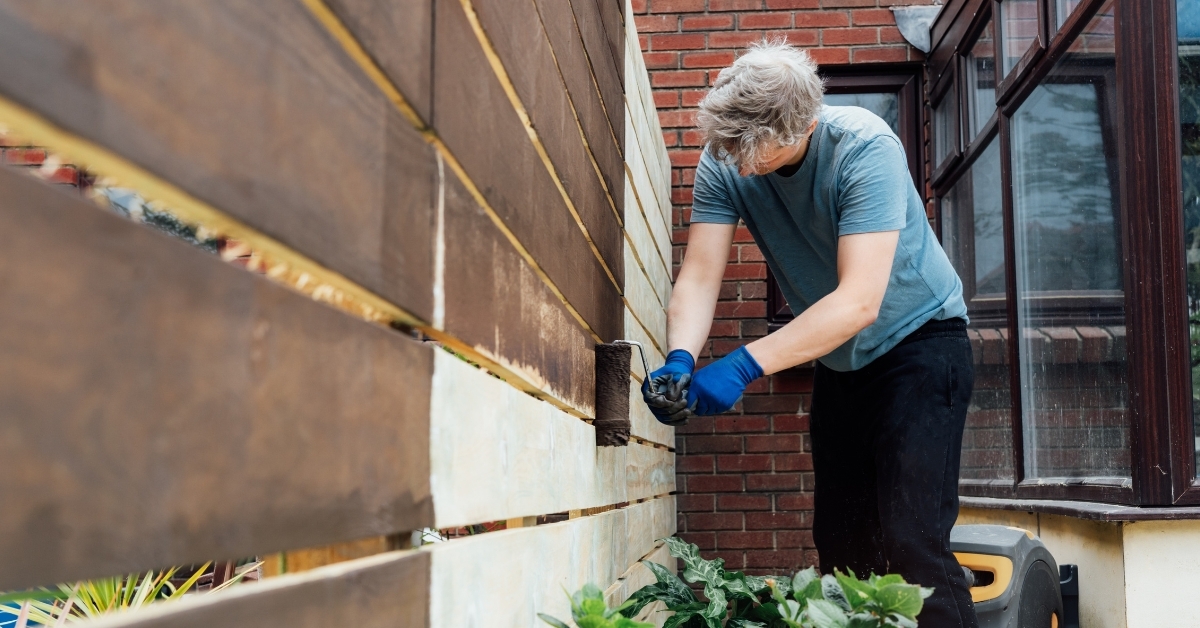
This is where the transformation really happens…
Choosing between a stain, a sealer, or a combination product depends on the age of your fence and the look you want to achieve.
Stains provide pigment that protects the wood from UV rays (the primary cause of graying), while sealers actually provide a water-repellent barrier. Many modern products available at Shepherd’s Hardware combine both for maximum efficiency, and we can help you choose the one that’s right for your fence.
Does your yard currently feel a bit disjointed? A fence refresh is one of the easiest ways to tie everything together!
Consider how your fence colour complements your deck, your garden beds, or even the trim on your house. A fresh, dark stain can make greenery pop, while a classic cedar tone feels warm and traditional.
It’s an instant boost to your curb appeal and makes your outdoor space feel like a polished extension of your home. Love the space you currently live in, and increase its value if you ever decide to sell.
Once the hard work is done, a little bit of “defensive gardening” goes a long way. Here’s some quick maintenance tips to keep in mind.
Small, seasonal habits protect the time and money you’ve invested in your refresh! Helps keep your perimeter looking sharp until next spring comes around.
A spring fence refresh is a manageable, high-impact project that can completely change the look of your property. By following the process (inspect, clean, repair, finish, and maintain) you can make sure your fence is always a beautiful, functional part of your home for years to come!
Ready to get started? Visit Shepherd’s Hardware in Armstrong. Let’s make this the year your fence finally looks as good as the rest of your garden!
3525 Mill Street, Box 37, Armstrong, BC

Grilling season is here! Get your grill clean and your setup ready with our backyard BBQ starter kit — tools, upgrades, and essentials from Shepherd's Hardware.
Don't dig your backyard without a plan! Discover the essential patio pavers, base materials, and tools you need to buy before starting your weekend DIY project.
Give your fence the spring reset it deserves! From cleaning away winter grime to choosing the perfect stain, follow our step-by-step guide to boost your curb appeal and protect your wood for seasons to come.


